

During the operation of the self-loading concrete mixer truck, two situations generally occur in the mixing tank. One is that the mixing tank cannot rotate at all, and the other is that the mixing tank can only rotate in one direction. The former cannot rotate as described in detail in the previous article. This time I will analyze why the mixing tank only rotates in one direction. The specific reasons and solutions are as follows:

Solutions for Mixing Drum Of Self-Load Mixer Rotating Only In One Direction
If tank of the self loading mixer for sale only rotates in one direction, you need to follow the four steps to examine and determine the problem and find the best solution. Check these steps below.
Step 1. Check Controller and Control Flexible Shaft
Push the control handle to its maximum stroke without turning it. Verify if the control valve’s handle adjusts its angle as expected.
If the angle corresponds to the change, but the tank doesn’t rotate, proceed to step 2.
If there is no matching angle change, continue with the following steps:
- First measure the stroke size of the flexible shaft. Consider the neutral stop position as the reference for 0 stroke, and check whether the flexible shaft stretches or shortens in the maximum non-rotation and maximum rotation directions.
- If there is a problem with the flexible shaft in the neutral stop position, it will need to be replaced.
- If there is no problem when the flexible shaft is in the neutral stop position, check whether the controller is damaged. If the controller is normal, you may need to readjust the stroke of the controller to ensure that the stroke dimensions of the flexible shaft are similar when pushed in different directions. Reconnect the sections after completing adjustments.
Step 2. Check The Inner And Outer Connection Of The Control Valve
- Verify if wear on the input shaft of the control valve is causing one-sided malfunction.
- Disassemble the control valve assembly to inspect the internal linkage mechanism for damage.
- Examine whether the control valve’s oil hole is obstructed due to contaminated hydraulic oil. If blockage is found, use a pressure air gun to clean it.
- Inspect whether the control oil passage from the pump’s main body shell to the servo mechanism is clogged with dirty oil. If it’s blocked, use a pressure air gun to clear it.
Step 3. Checking The Charge Check Valve
Inspect the oil supply check valve to determine if it’s obstructed or compromised. If there’s blockage, remove and clean it in fresh hydraulic oil. If it’s damaged, replace it.
Step 4. Check The Corresponding Safety Valve And Balancing Shuttle Valve
- Examine the high pressure in the non-rotational direction. If high pressure is absent, take out the respective safety valve and inspect for blockages or damage. If blocked, clean it; if damaged, replace it.
- Inspect the shuttle valve for any damage to the spring in the corresponding direction, which might result in direct pressure relief on one side. Replace the spring or add a shim if needed.
If you understand the above solutions but are not sure how to find important inspection parts of self loading mixer, please contact our engineers for help in time.
Related Hot Products:
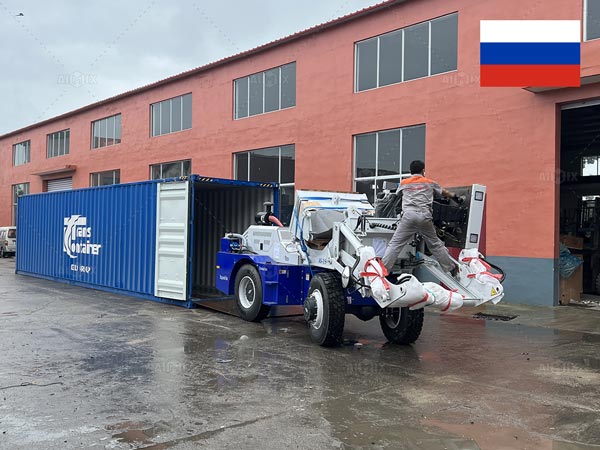 AS-3.5C Self Mixing Concrete Truck Was Delivered to Russia
 AS-4.0 Self Mixing Concrete Truck Was Exported to Guatemala
 Constructing A Supermarket Through Mixing and Pumping Solutions in Honduras
 Concrete Mixing and Pumping Solutions Used for Factory Expansion in Peru
 ABJZ40C Diesel Concrete Mixer Pump Was Delivered to Jordan
 ABJZ40C Diesel Concrete Mixer Pump Was Exported to The Philippines